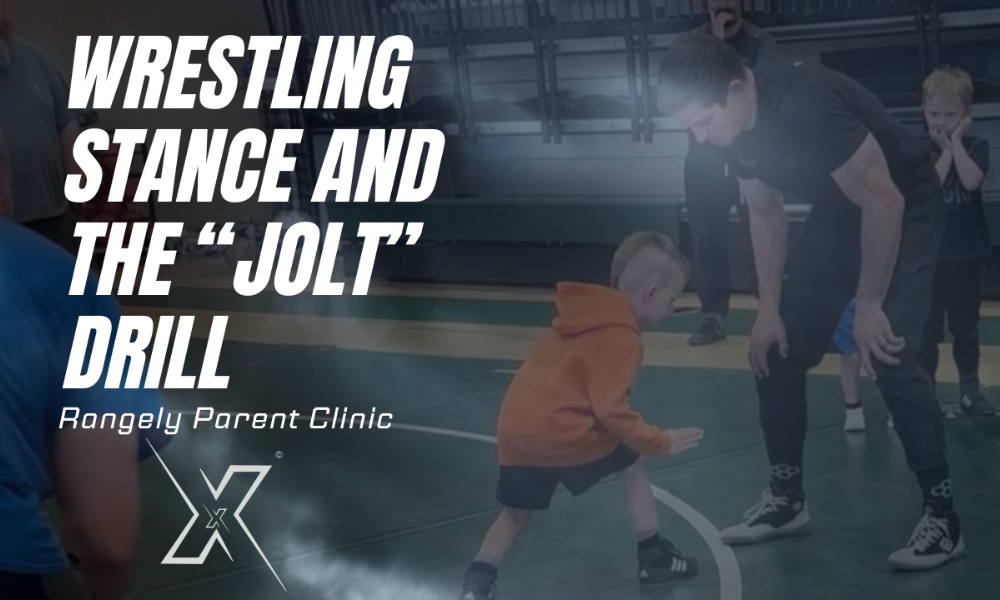
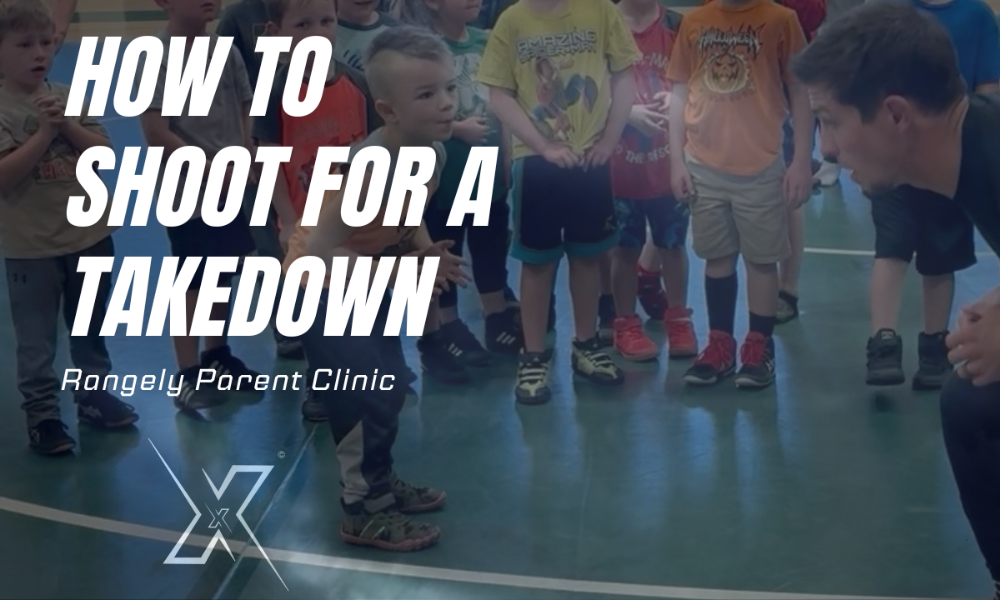
Strong wrestling starts with a strong stance. In this video, Coach works with a young athlete to lock in the basics: stance, level change, short steps, and a powerful “jolt” that teaches kids to drive their knee over their toe. If you’re a new wrestler or a parent-coach learning alongside your athlete, this drill is a fast way to build balance, pressure, and confidence on the mat.
Why Stance Matters
Everything in wrestling flows from stance. A good stance keeps you balanced, ready to move forward or backward, and able to defend a shot or attack quickly. Kids who master stance and level change early pick up new moves faster and win more scrambles, because their feet and hips are always in the fight.
Coach’s Setup (Using a Human Target)
Coach sets his foot down and pretends his knee is the opponent’s hip. This gives the athlete a clear target and a safe way to learn pressure. The goal is simple: when the athlete “jolts,” their knee drives over the toe, their head stays above the knee, and their chest makes contact to move Coach’s foot backward. That creates real, usable pressure without diving or reaching.
Step-by-Step: Stance → Level Change → Step → Jolt
- Stance
- Right-handed athlete: right leg forward.
- Bend the knees, hips back, chest over the lead knee.
- Hands relaxed, ready to make contact.
- Level Change
- Lower the hips without standing your feet too narrow.
- Keep your head up and eyes forward.
- Short Steps
- Step, step toward the target. Think small, quick footwork, not big lunges.
- Stay balanced, knees bent, chest still over the knee.
- Jolt (Knee-Over-Toe Drive)
- On Coach’s cue, drive your lead knee over your toe.
- Keep your head above the knee and chest into the target.
- The goal is to move the target back a few inches. That is pressure.
Coaching Cues Kids Remember
- “Right leg forward, bend the knees.”
- “Chest over knee.”
- “Short steps, not big jumps.”
- “Knee over toe on the jolt.”
- “Head above your knee, chest to the target.”
Common Fixes
- Reaching instead of stepping: If a child reaches with their hands, they lose balance. Cue “step, step” before the jolt.
- Head drops: Keep the head above the knee. If the head dips, the pressure fades and the athlete can get extended.
- Big lunges: Short steps keep hips under control and make the jolt stronger.
- Chest not contacting: Make sure the chest meets the target on the jolt so the athlete feels the push.
A Simple Practice Rep Scheme
- Round 1: Mechanics
5 reps each side: Stance → Level change → Step, step → Jolt into Coach’s knee target. Reset between reps. - Round 2: Rhythm
8 quick reps on your lead side, focusing on smooth timing of the steps into the jolt. Minimal talking, feel the movement. - Round 3: Add Motion
Start with light motion in stance, then on the cue, hit level change, steps, and jolt. This teaches athletes to explode from movement, not just from a dead stop.
Why the Jolt Works
The jolt teaches kids to put force into the mat and through the opponent. It builds the habit of knee-over-toe pressure, which shows up everywhere: driving through shots, finishing takedowns, and holding steady position when an opponent pushes back. It also gives a safe, clear target so beginners feel success early.
Try This At Your Next Practice
Pair athletes with a coach or parent partner. Place a foot flat and use the knee as the “opponent’s hip.” Cue the sequence out loud, just like in the video: “Stance. Level change. Step. Step. Jolt.” Keep reps short, crisp, and positive. You will see balance and pressure improve in a single session.
Ready for the next step? Combine this drill with a simple go-behind or a penetration step to show kids how stance, steps, and pressure turn into real points on match day.


